Difference between revisions of "Stocktakes"
Jump to navigation
Jump to search
| Line 26: | Line 26: | ||
[[File:Stock take .png|frameless|939x939px]] | [[File:Stock take .png|frameless|939x939px]] | ||
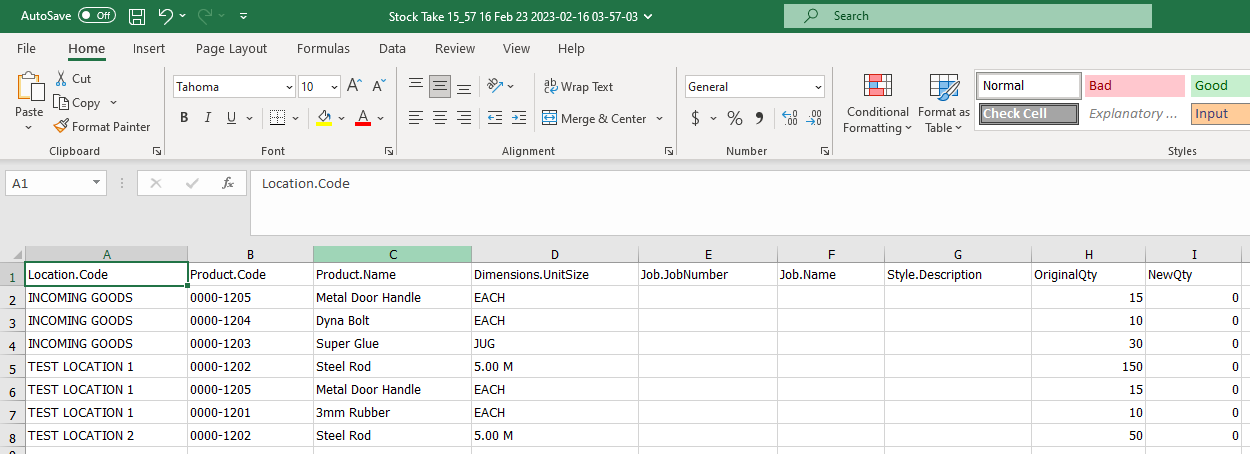
==== Example Excel File for Printing Out ==== | |||
[[File:Stocktake excel.png|frameless|1250x1250px]] | |||
=== Mobile === | === Mobile === | ||
Revision as of 09:16, 16 February 2023
Overview
- Stocktakes on PRS can be used to ensure stock levels represented in the system are accurate
- Stocktakes will also generate stock movement transactions to reflect whether there was more or less stock recorded on PRS at the time of stocktake
Desktop
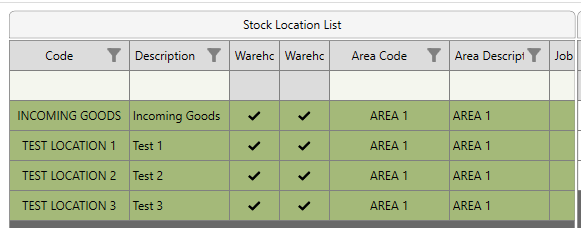
Starting a Stock Take using selected locations
- Go to Product Management → Stock Locations → Select the Locations to Stocktake → Select the
 button at the bottom of the list
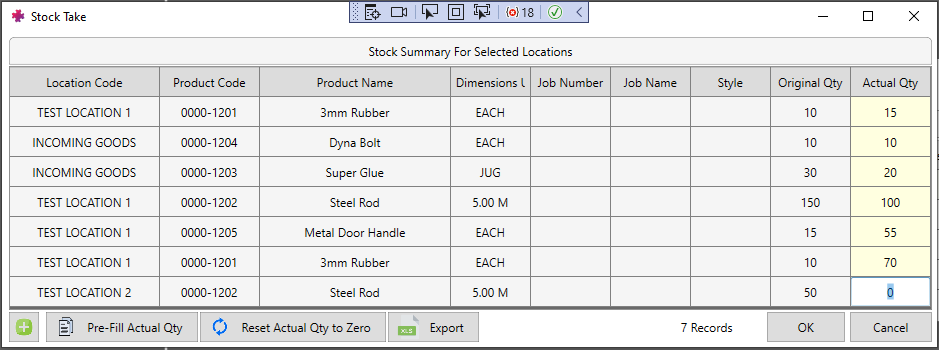
Using the Stock Take Screen
- All Stock Holdings for the selected Locations are combined in one list
- The quantity for each holding is shown as "Original Qty"
- "Actual Qty" can be typed in to, and is used to fill in quantities observed during the physical stocktake. This is defaulted to 0
- The
 button can be used to copy over any numbers in "Original Qty" to "Actual Qty"
 - The
 button can be used to reset to 0
 - The
 button is the recommended way to generate a sheet for printing out before a stocktake
 - Each line in the Stock Take will produce a Stock Movement when the Stock Take is saved
- Identical quantities will produce a Stock Movement with 0 received and 0 issued
- A higher actual quantity will produce a Stock Movement with the difference as the amount received
- A lower actual quantity will produce a Stock Movement with the difference as the amount issued


